Sealants are much trickier to apply than waxes. Granted, they aren’t quite as complicated as ceramic coatings, but there’s definitely a decent bit of prep involved if you want the paint protection to last as long as possible.
In this article, I’ll take you through the essential steps to prepare your car before applying a sealant to get the best finish and durability. So let’s get started.
The Quick Answer
To properly prepare your car before applying a sealant, the paint needs to be completely clean and bare so the sealant can bond properly.
- Wash it thoroughly using a wax/ sealant stripping shampoo
- Decontaminate the paint if necessary using an iron fallout remover, tar remover and clay
- Polish the car if necessary
- Cleanse the paintwork to remove any old wax and sealant or use a panel wipe solution
Wash Thoroughly (Essential)
The first step of course, is to give your car a proper wash. Now, you need to be very throurough with this step, because the paintwork needs to be as clean as possible before proceeding with the rest of the process.
Here’s what I do when washing my car before applying a sealant.
- Rinse the car with a pressure washer using a fan setting.
- Apply a snow foam using the pressure water and let it dwell for a few minutes.
- Power wash the snow foam off the car.
- Apply a second layer of snow foam.
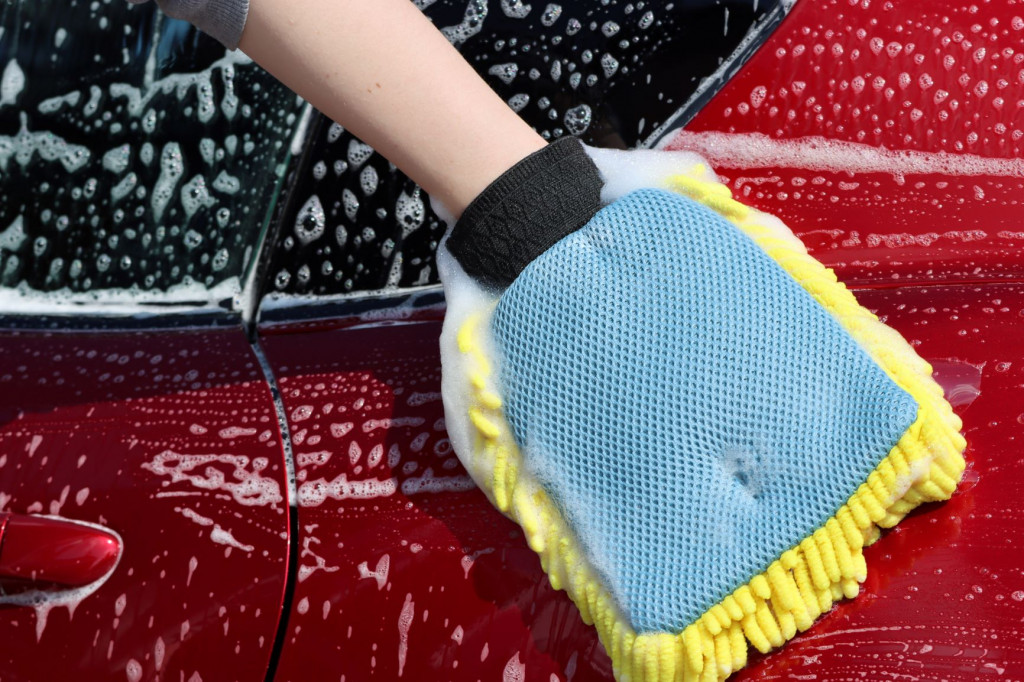
- Use a microfiber wash mitt and wax-less car shampoo to wash the car top to bottom.
- Rinse using the pressure washer.
- Wash the car again using a microfiber wash mitt and a wax-stripping shampoo.
If you want to learn more about the products I use to do this, then check out my list of recommended wash products for some reviews.
Chemical Decontamination (Recommended)
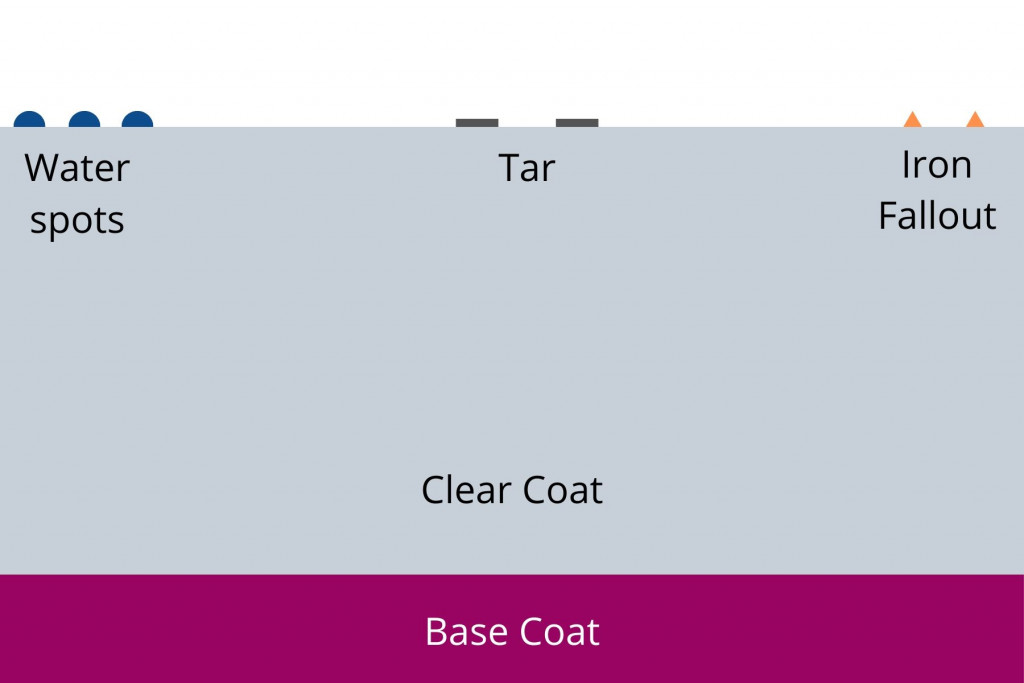
The next step, is the chemical decontamination process. Your car’s clear coat is exposed to the elements constantly. A lot of dirt and dust accumulates on the surface, and this is usually washed off easily in the first step. However, your car can also get covered in other forms of contamination.
These contaminants include water spots, road tar, tree sap, bugs, bird mess and iron fallout. They become bonded to the car’s paint, and are not always removed during the wash process.
The best way to check for this, is by putting your hand in a sandwich bag and running it over clean dry paint. If it feels rough, then there are contaminants bonded to the surface.
These need to be removed before applying a sealant because sealants need to bond properly to the paint. These contaminants get in the way and will stop the sealant bonding and dramatically decrease its durability.
There are two steps to the decontamination process, chemical and physical.
You should always start with the chemical contamination step to remove as much as possible before touching the paint. Hence, reducing the risk of inflicting clear coat scratches.
There are two types of chemical decontamination:
- Fallout removers which remove bonded iron particles
- Tar removers which dissolve tar that becomes stuck to the paintwork
Take a look at this article I’ve written about fallout removers to learn more about why they’re important, and how to use them properly.
Physical Decontamination (Optional)
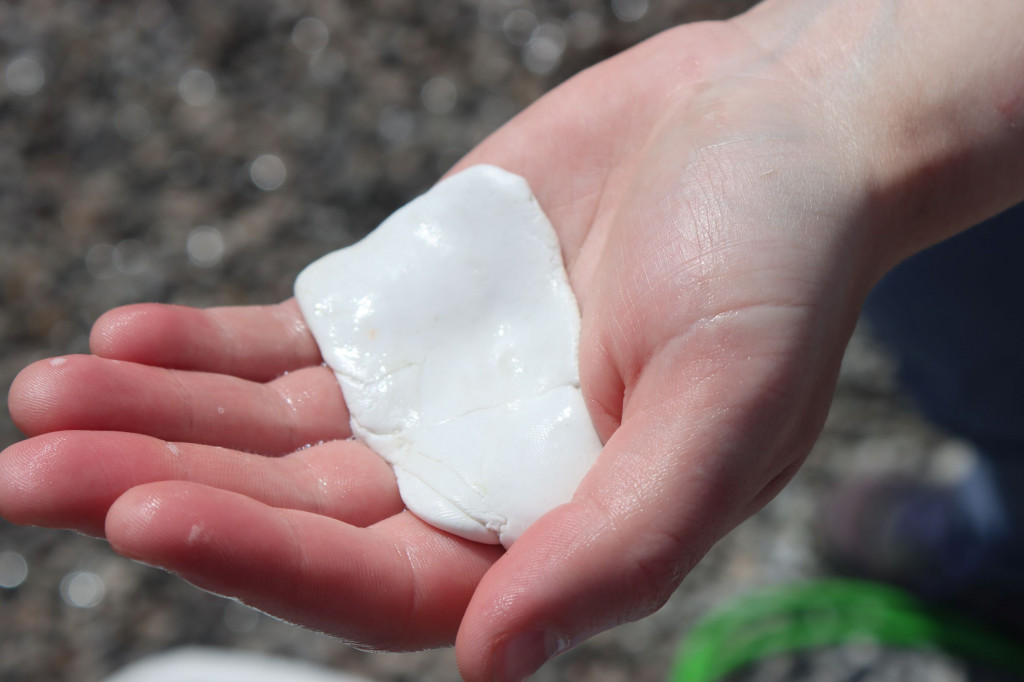
The next step is the physical decontamination which removes the remaining bonded contaminants. This is usually performed using a clay bar, or clay mitt.
They are quite straight forward to use, and work by pulling the bonded contaminants off the paintwork.
However, you need to take car when using clay. It is an abrasive tool, so is highly likely to cause some minor swirls and marring.
That’s why you should only do this step if it is completely necessary, don’t just do it as part of a routine.
If you clay your car then it’s very likely that you’ll need to polish it to remove any marring or swirls that have been inflicted, so it’s not necessary to clay a car every time you apply a wax or sealant.
Here’s how you clay your car:
- Knead the clay to make it soft and flat.
- Use car shampoo (without wax) and water to lubricate the paint.
- Dip the clay bar into the car shampoo and water.
- Use the clay to glide across the paintwork in straight lines.
- Never let the clay “grab” onto the paint, always use plenty of lubrication.
- Keep checking the clay, if you see it looks dirty, then fold it to expose a fresh side.
Once you’ve clayed the entire car, you can rinse it and then dry it using a soft, clean microfiber towel.
Cleanse the Paintwork (Recommended)
Okay, so by this point the paint should be squeaky clean and contaminant free. However, there still may be some traces of old wax or sealant on the paintwork.
If when you rinsed the car in the previous step, you noticed any water beading or sheeting, then it’s likely there is still some paint protection remaining.
Like I mentioned earlier, the paintwork needs to be completely bare before applying a sealant or it won’t bond properly.
There are a few methods you can use to do this. One of the most effective is to use a “strip wash snow foam”. I personally use Bilt Hamber Auto Foam and Bilt Hamber Surfex HD in a snow foam cannon, let it dwell for a couple of minutes and then go over the car with a wash mitt and rinse.
I find that this really quickly and safely removes any old paint protection to leave a bare surface.
You can also use a paintwork cleanser. Something like Dodo Juice Lime Prime has mild abrasives which will have some polishing ability, although you can get the Lite version which is a non-abrasive cleanser.
These can be applied either by hand or machine and then buffed off using a microfiber towel.
Check out this article on 5 ways to remove old waxes and sealants for more information.
Apply the Sealant
Okay, so now the paintwork is thoroughly cleaned, decontaminated and cleansed, you’re reading to apply the sealant. It’s really important to follow the manafacturers instructions when applying a paint sealant because they all have different curing times.
If you buff off the excess too quickly, then it won’t have cured properly and the durability will be dramatically reduced. And if you wait too long before buffing, then it will be nightmare to remove.
Frequently Asked Questions
Here are the answers to some of the most popular questions about preparing to apply a sealant.
Can you apply a sealant over a glaze?
Applying a glaze underneath a sealant will prevent the sealant bonding properly to the paint. This can dramatically reduce the durability. If you want to use a glaze, then use a wax on top instead. Waxes still protect the paint but can be layered over other products.
Check out this article I’ve written about preparing a car for waxing to learn more.
Should you polish a car before using a sealant?
It’s not necessary to polish a car before using a sealant, unless you want to correct the paintwork. You should only ever polish when absolutely necessary, because it’s important to preserve the clear coat as much as possible.
Take a look at this article I’ve written to tell you when you should polish your car.
What happens if you don’t prepare the paint before applying a sealant?
If you don’t remove all the old wax/ sealants, and contaminants from your paint before using a sealant, then the lifespan of the paint protection will be reduced. If the paint isn’t adequately prepared, then the sealant won’t bond properly. So when it usually could last 6 months, it may only last 2-3 months instead.
Can you apply a wax underneath or on top of a sealant?
You can apply a wax on top of a sealant, but not underneath it. If you apply a sealant over the wax, the sealant won’t be able to bond to the paint properly. Applying a wax on top of a sealant can be good to get some extra gloss, but you will lose the surface characteristics on the sealant underneath e.g the hydrophobicity, slickness etc..
Take a look at this article I’ve written about layering waxes and sealants.
How long do you need to wait before washing again after applying a sealant?
It’s best to wait at least 12-24 hours after applying a sealant before washing the car again or the sealant may not have cured properly. Try and keep the car dry for at least 24 hours after sealing because the rain can also affect the durability if the sealant hasn’t cured fully.
Thanks for reading! I hope you’ve found this article helpful. Don’t forget to check out the rest of the website to learn more about making your car look its best.
