Rubber car mats are much easier to clean compared to fabric mats, but that doesn’t mean you shouldn’t follow some key steps to get the best results. In this article, I’ll take you through the best products and techniques for cleaning rubber mats thoroughly.
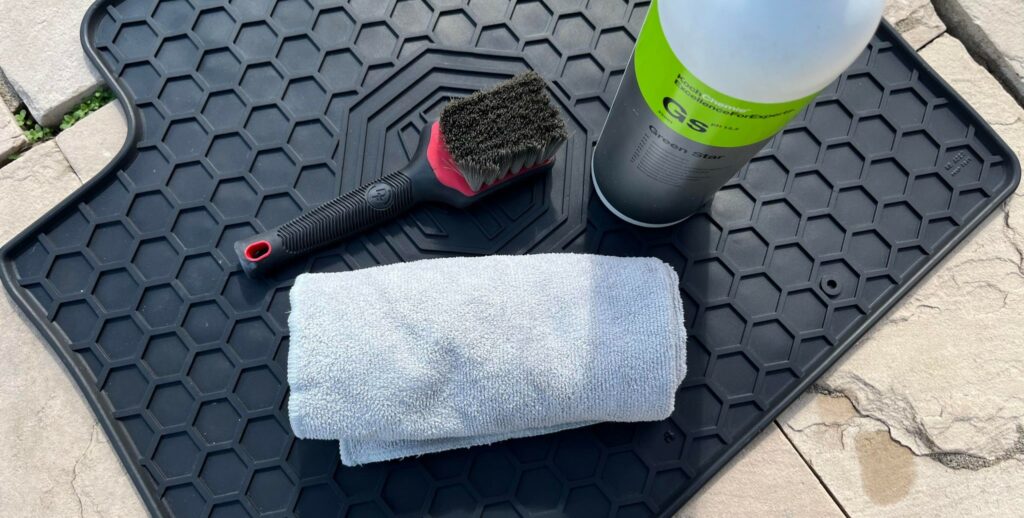
What You’ll Need:
- Garden hose or pressure washer
- All-purpose cleaner (APC) or dedicated rubber cleaner
- Soft/ medium stiffness bristle brush
- Microfiber towels
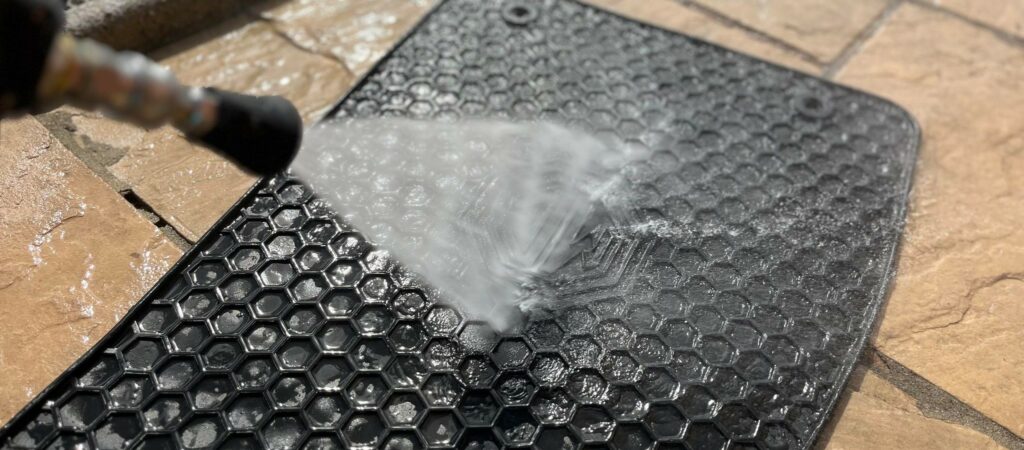
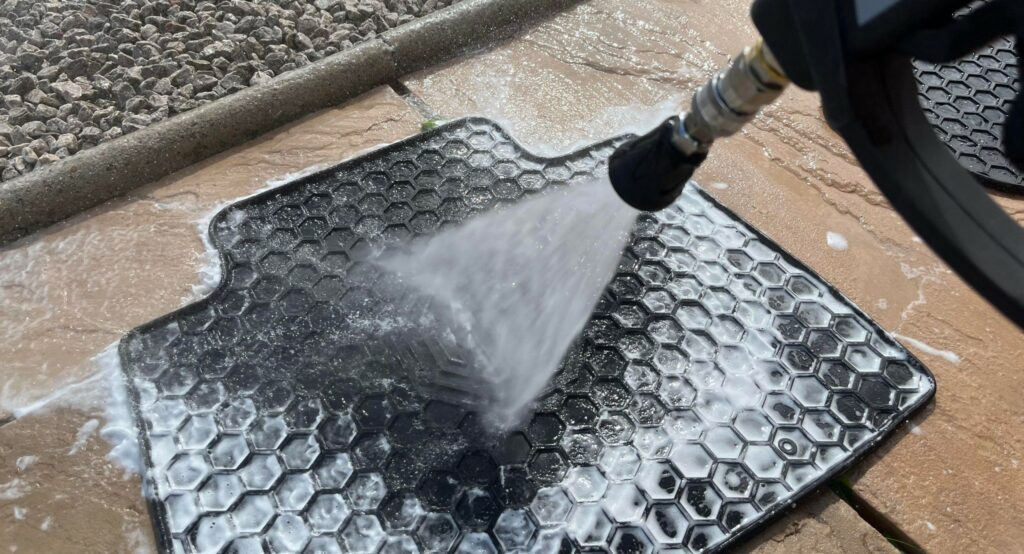
Step #1 Rinse the Rubber Mat
The very first thing you need to do, is rinse give the mats a shake to remove any lose debris, and then rinse them with either your garden hose or pressure washer to soften/ remove any more stubborn dirt.
I prefer to use a pressure washer as I find this to be much more effective than a garden hose since it is more powerful. However, a garden hose will work fine. You’ll just need to put some more effort in during step #3.
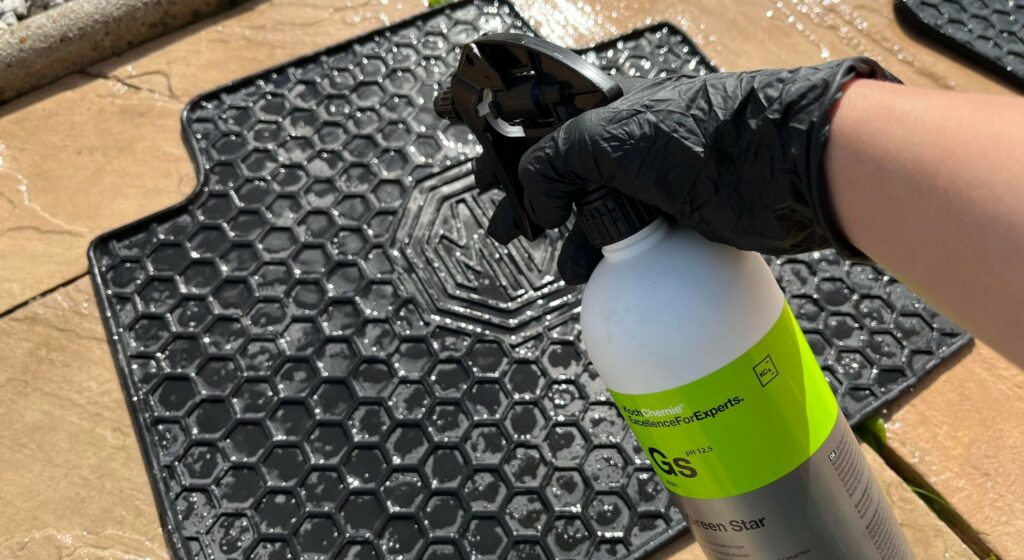
Step #2 Spray the Cleaner Liberally onto the Mat
Next, apply your cleaner of choice. I like to use either an all-purpose-cleaner (specifically designed for cars) or a dedicated rubber cleaner on heavily-soiled rubber mats.
Recommended cleaners:
- Koch Chemie Greenstar APC (diluted to 1:5 concentration)
- Autoglanz Rebound (used neat)
I steer clear of household cleaners (especially those containing bleach) as they are typically not designed for use on rubber and run the risk of staining or damaging the surface.
If you’re dealing with very dirty mats, it can be useful to let the cleaner sit on the mats for a couple of minutes before moving onto step #3. Just make sure you don’t wait too long or it’ll dry out.
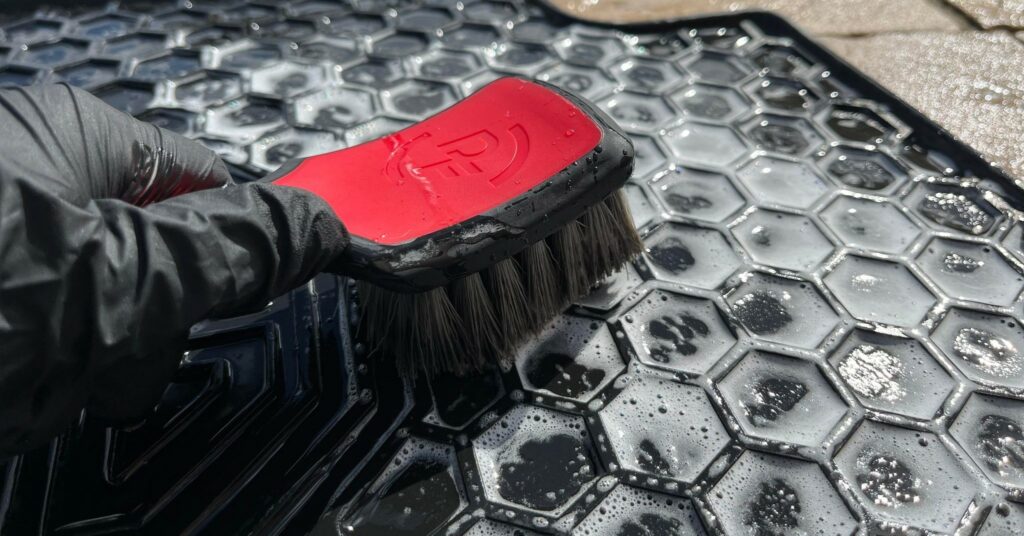
Step #3 Agitate the Cleaner Using a Brush
There are two options here when it comes to brushes. You can either use a handheld brush, or a drill-brush attachment. I prefer to use a drill-brush attachment as it is quicker and more efficient, but you will still be able to get the same results with a handheld brush, you’ll just need to put in some more effort.
Avoid using anything too stiff or aggressive. There should be some flex to the bristles so they can effectively agitate the cleaner but without damaging the rubber surface.
Step #4 Rinse Again
Once you’ve agitated the cleaner you can rinse all the chemical and dirt away. At this point you might notice that some areas need a second hit of the cleaner before you’re happy with the finish, if so repeat steps #2 and #3.
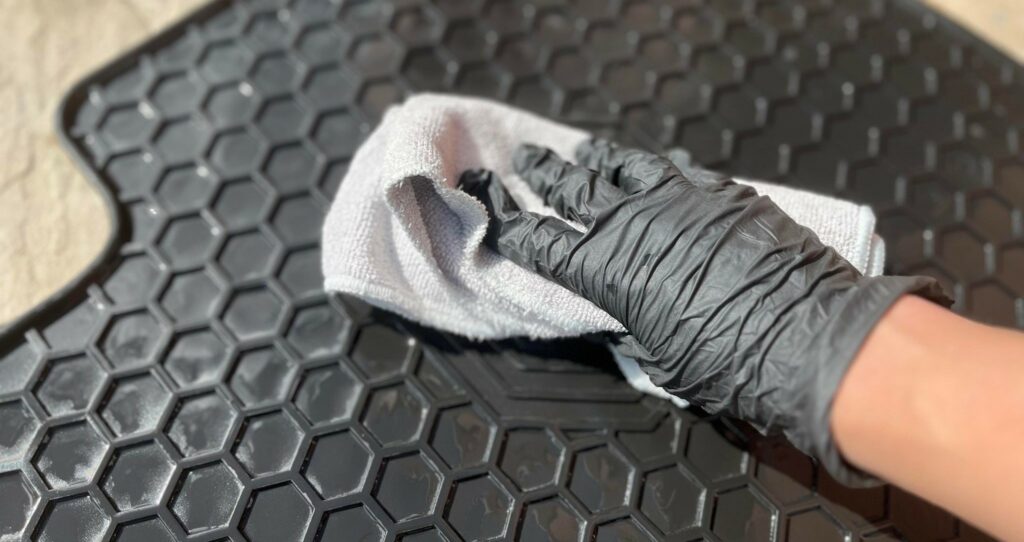
Step #5 Dry the Mat
Rubber mats don’t take too long to dry out (especially compared to fabric mats), but I always make sure to give them a shake to remove as much water as possible before laying them out in the sun to fully dry.
If it’s a colder day, you may also need to dry the rubber using a microfiber towel. Usually a towel won’t fully dry the mats, so you will still need to lay them out for about 20-30 minutes before placing them back in the car. That’s why it’s often useful to clean the mats before actually with the interior.
If you have a car dryer you can also use this to blast the mats dry. I wouldn’t recommend a leaf blower though as it’ll probably end up in your neighbours driveway!
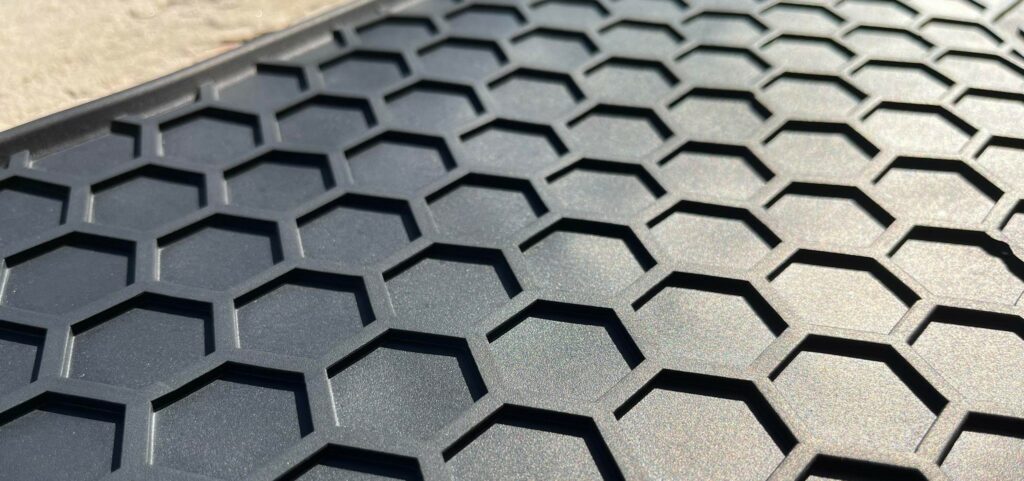
Step #6 Restore & Protect the Rubber (Optional)
This is an optional step but one which is very useful especially if the mats are starting to show their age a bit.
There are some chemicals on the market which are designed to be used on rubber mats to restore the black finish, and protect them from UV, dirt and spillages so they stay looking fresher for longer.
I personally use Garage Therapy Dash Serum for this purpose. This product prevents discolouration and cracking, and also adds a nice matte, darkened finish. It has a very minimal effect on the surface feel which is the main reason why I find it to be effective.
I haven’t used it personally, but I have also heard that Koch Chemie Gummifix shares these properties and is more accessible worldwide.
Do not use any interior dressings or other products which do not explicitly state that they can be used on rubber mats. These often add a slick and slippery feel to the surface which is the last thing you want as it could transfer onto your shoes and onto the pedals. Even when using a product designed for rubber mats, you should check that this does not leave a slippery finish – it is always the user’s responsibly to ensure safety.
Frequently Asked Questions
How often should you clean rubber car mats?
Rubber car mats should be cleaned when they look visibly dirty. In most cases, rubber mats should be cleaned every 1-2 weeks if you want your interior to stay looking spotless. In some cases, you may be able to vacuum the mats instead of deep cleaning them if they are not too dirty.
Can I clean rubber car mats with dish soap?
It is possible to clean rubber car mats with dish soap, however you are likely to get better results from using a sprayable all-purpose-cleaner or dedicated rubber cleaner.
How do I make my rubber car mats look new?
To make rubber mats look new, start by rinsing them cleaning with an all-purpose cleaner and brush before rinsing again. Then dry the mats and apply a finishing product specifically designed for rubber mats such as Koch Chemie Gummifix or Garage Therapy Dash Serum,
