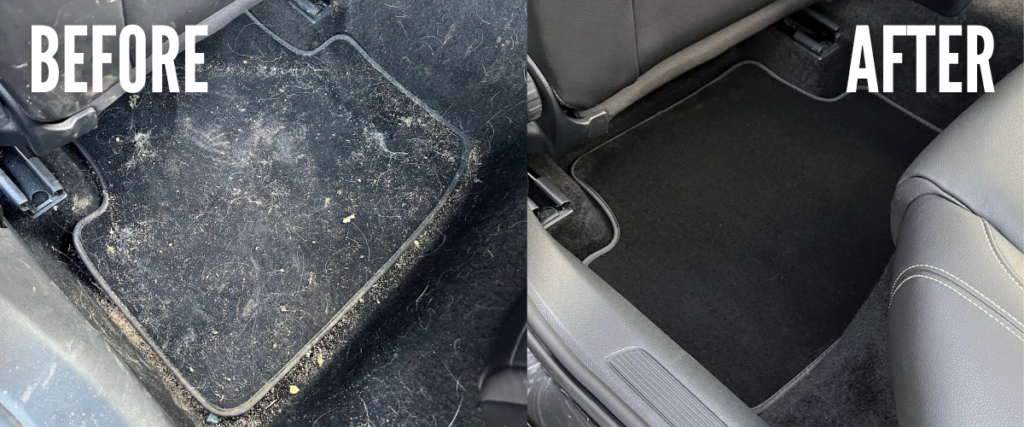
Fabric car mats can be tough to clean, especially if you’re dealing with stubborn stains and grime. In this article I’ll take you through different methods for cleaning fabric mats so you can choose the best one based on how dirty the mats are, and the equipment you have on-hand.
| Method | Steamer/ Extractor Needed | Best For |
| #1 | No | Light-Moderate Dirt |
| #2 | Yes – Steamer | Moderate Dirt |
| #3 | Yes – Extractor | Heavy Dirt |
Method #1 Without Extraction or Steam
Best For: Those with limited equipment or cleaning mats that aren’t too dirty.
This section contains product affiliate links. We may receive a commission if you make a purchase after clicking on one of these links.
What You’ll Need:
- Vacuum (Amazon link)
- Interior/ fabric or all-purpose cleaner (Amazon link)
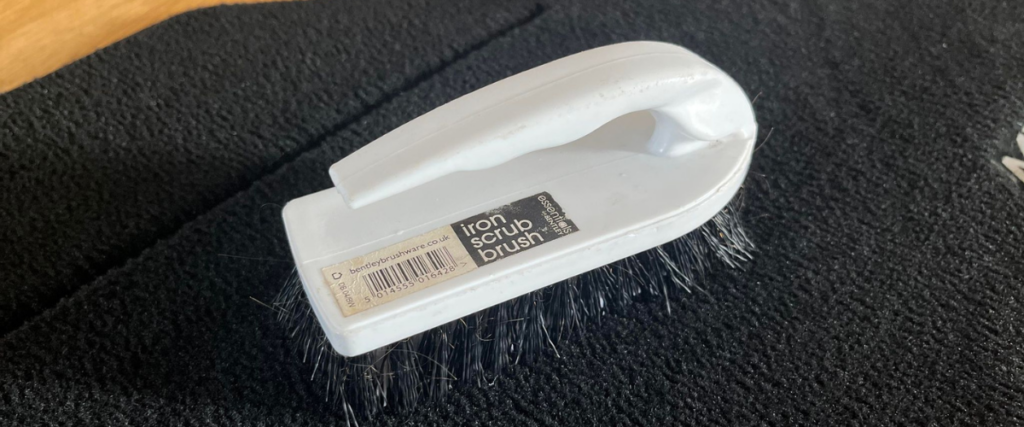
- Upholstery or detailing brush (Amazon link)
- Microfiber towels (Amazon link)
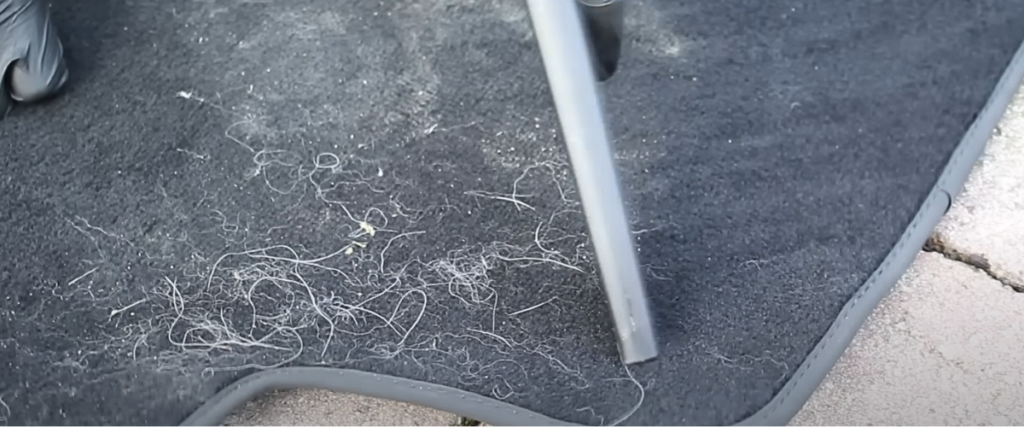
Step #1 Vacuum
The first step is to use your vacuum to remove any debris. Be thorough with this step, it’s important that this is all removed before applying any chemicals for best results. I find the crevice attachment is the best for most fabric mats, although a brush attachment can come in handy for engrained sand/ dirt.
Step #2 Apply and Agitate the Cleaner
Fabric is not as sensitive as leather when it comes to cleaning chemicals. I’d still advise using an interior, fabric or all-purpose cleaner which is specifically designed for cars as opposed to using household cleaning chemicals. Definitely do not use any chemicals with bleach in either.
Apply the cleaner (diluted if specified by the manufacturer) liberally to mat and allow it to soak for 1-2 minutes. Then, use the detailing or upholstery brush to agitate the affected area. It may take a couple of tries depending on how dirty the mats are.
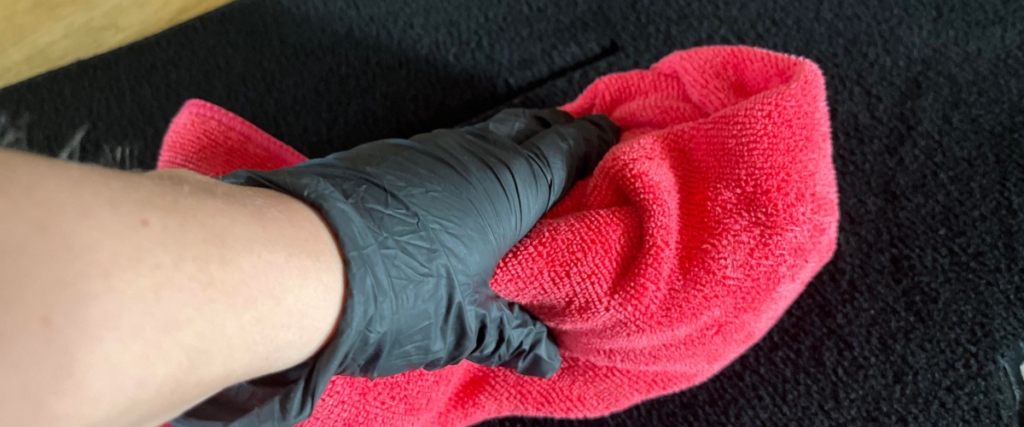
Step #3 Blot Using the Microfiber Towel
To remove all the lifted dirt and the cleaner, use the microfiber towel to blot the fabric. Try and get the mats as dry as possible using this method before placing them back in the car. You can also leave them in the sun if it’s a warm day.
Method #2 Using a Steam Cleaner
Best For: Cleaning moderately dirty mats thoroughly and efficiently
This section contains product affiliate links. We may receive a commission if you make a purchase after clicking on one of these links.
What You’ll Need:
- Vacuum (Amazon link)
- Steam cleaner (Amazon link)
- Microfiber towels (Amazon link)
Step #1 Vacuum
Same as method #1, start off with a thorough vacuum in order to remove all the loose dirt and debris which is engrained in the fabric. It’s important to take your time with this step as you don’t want to move onto the steaming stage with debris still stuck in the fabric.
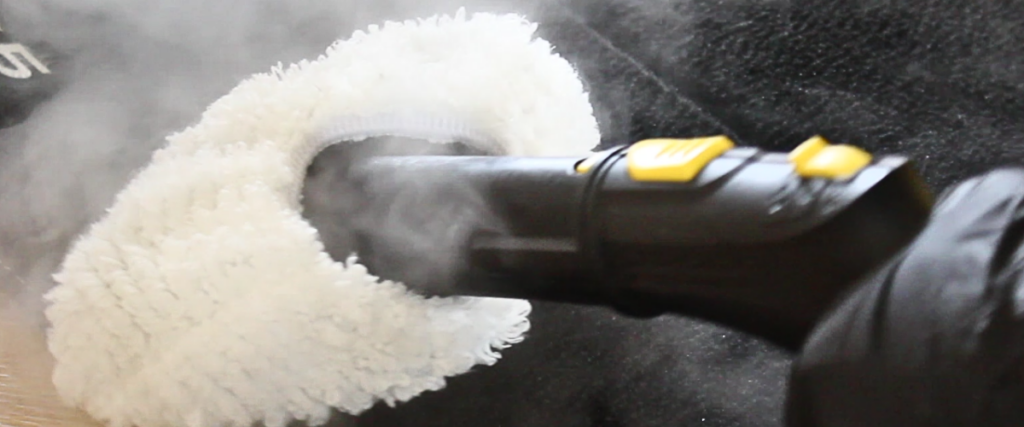
Step #2 Use the Steam Cleaner
Steam is a really effective cleaner and does have some antimicrobial properties too. The benefit of using steam is that you usually won’t need to use any chemicals as well, and the mats won’t get very saturated so should dry out fairly quickly even on colder days.
Most steam cleaners have a larger attachment which comes with a microfiber cloth cover. If you don’t have one of these covers, you can try wrapping a microfiber cloth around the attachment to achieve the same effect. Work in straight-line motions to agitate the fabric using the steam cleaner until you’re happy with the results.
Step #3 Blot with a Microfiber Towel
Next, take a clean, dry microfiber towel and blot as much of the moisture as possible before placing the mat back inside the vehicle. This will also aid in removing any dirt which has been lifted by the steam, but not collected by the steam cleaner attachment.
Method #3 Using a Pressure Washer and Extractor
Best For: Heavily-soiled fabric mats
This section contains product affiliate links. We may receive a commission if you make a purchase after clicking on one of these links.
What You’ll Need:
- Vacuum (Amazon link)
- Wet vac/ extractor (Amazon link)
- Interior/ fabric or all-purpose cleaner (Amazon link)
- Upholstery brush (Amazon link) or drill brushes (Amazon link)
- Pressure washer (Amazon link)
Step #1 Vacuum
No surprises here. Start off with a thorough vacuum before moving onto the the next step for the best results.
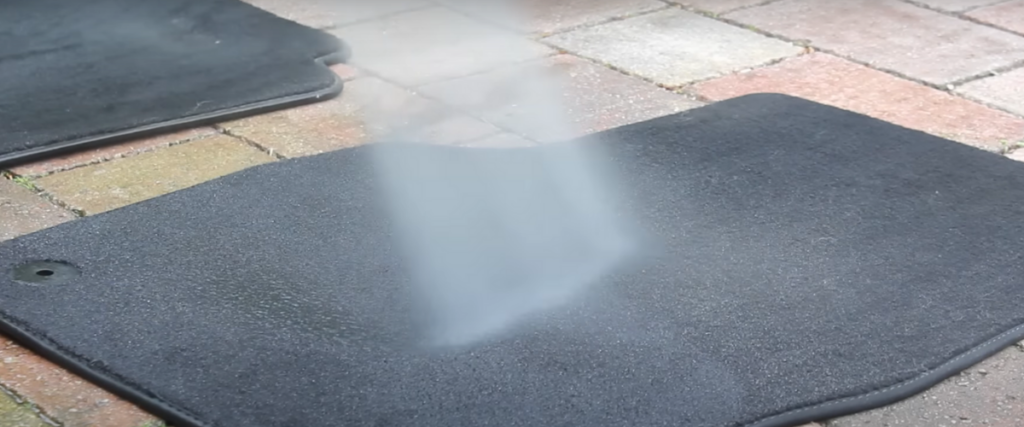
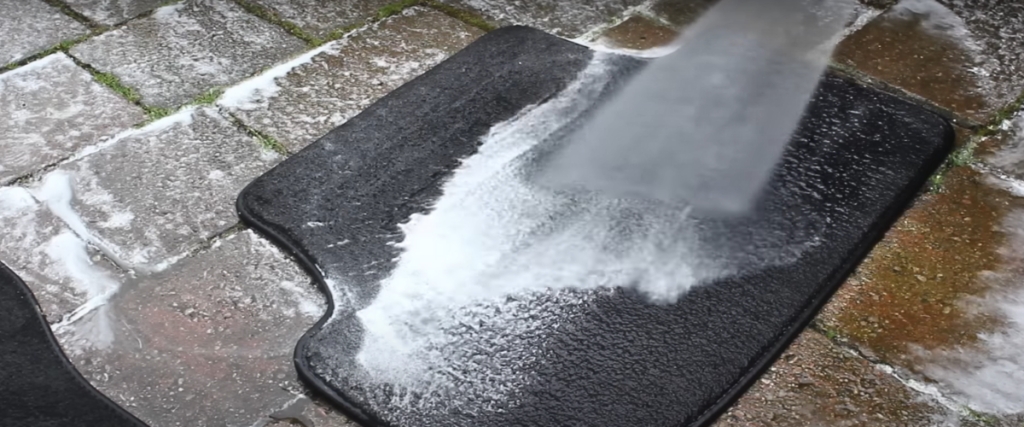
Step #2 Rinse the Mats
Use the pressure washer to rinse the mats. There’s no need to completely saturate the fabric at this stage, but getting it a little bit wet will help in the next step. Don’t get too close with the pressure washer either (around 30 cm away from the fabric is fine with most pressure washers).
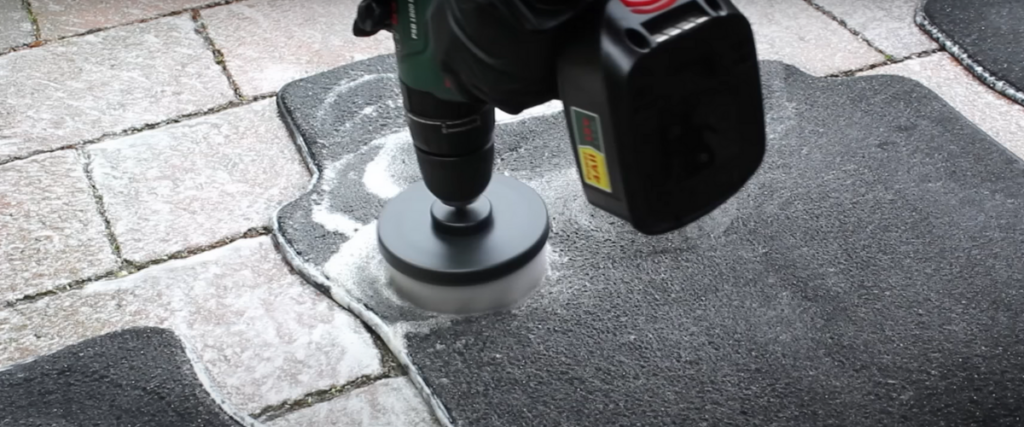
Step #3 Apply the Cleaner and Agitate
Spray the selected cleaner liberally onto the mat, leave for a minute or two, and then agitate using your brush. If you want to be even more efficient with this method, consider using a drill brush attachment instead to speed this stage up.
Step #4 Rinse the Mat
Next you need to flush all the chemical and lifted dirt out of the mat by using the pressure washer again. Don’t get too close and be patient, this step can take a while. You may also find it useful to use a clean brush to keep pushing water out of the mat before re-rinsing.
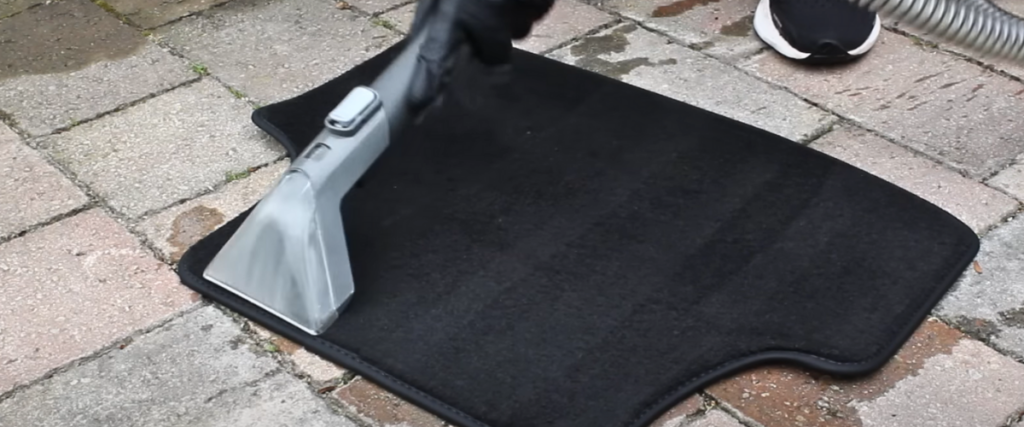
Step #5 Use the Extractor
Once all the chemical has been rinsed out of the fabric, you can use the extractor to pull all the water out to help the mat dry. At this stage, you may notice that the water being extracted is not completely clean, if this is the case, you should repeat steps #3 and #4 until you get the desired results. Try and extract as much water as you possibly can before leaving the mats to fully dry.
If you don’t have an extractor, you can use a squeegee to push as much water out of the mat as possible, just be aware that they will take a long time to dry out fully.