If you’ve just got a new car with a fresh looking nappa leather interior then you’ll need to know how to keep it clean and protected so it looks “new” for as long as possible.
In this article, I’ll explain everything you need to know about caring for nappa leather seats and trim to keep it in the best possible condition.
Quick Guide to Nappa Leather Care
Nappa leather should be deep cleaned approximately twice per year using a dedicated leather brush and leather cleaner. The leather can then be protected using a leather sealant. A leather conditioner is not necessary on newer interiors as the leather’s clear coat will still be present.
I’ve split this guide into three parts:
- Deep Cleaning
- Protecting
- Maintaining
Looking for some of the best detailing products to take car of your car’s interior ? Make sure you check out my recommended products page for all my current top picks.
Deep Cleaning Nappa Leather
If your nappa leather hasn’t been cleaned in many months or is looking shiny and greasy, then you’ll need to give it a deep clean.
What You’ll Need
This page contains product affiliate links. We may receive a commission if you make a purchase after clicking on one of these links.
- Leather brush/ sponge
- Leather Cleaner
- Microfiber towels
I do not recommend using anything other than dedicated leather care products on a car’s interior leather. Household products such as dish soap, vinegar and antibacterial wipes are not designed for use on leather and should be avoided.
I recommend either the Colorlock Mild Leather Cleaner or the Leather Repair Company LRC1. There is also a stronger version of the Colorlock cleaner but I’ve found this is not necessary even on very dirty leather. Here are links to these cleaners on Amazon:
You can then either use a leather brush or sponge. A brush is more aggressive and great for deep cleaning but should be used sparingly. Here is a link to the Colorlock Leather Brush on Amazon.

Image links to Amazon
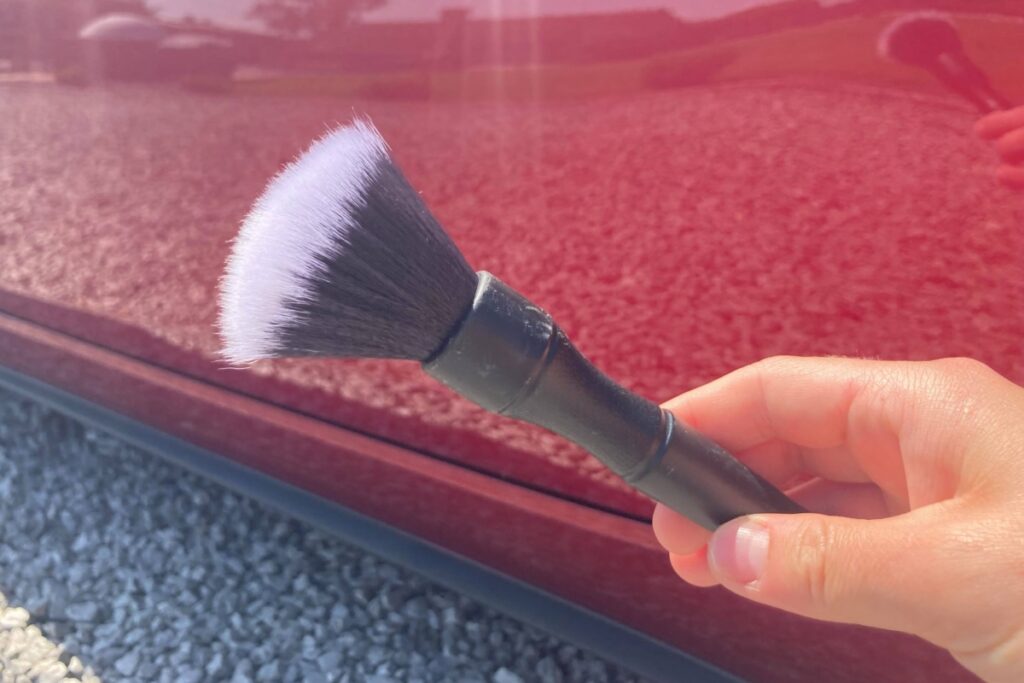
You can also use a softer-style detailing brush such as the one pictured below however this may not be aggressive enough for super dirty leather.
Deep Cleaning Process
Step 1: Remove Any Debris
Any debris such as dust, sand or loose dirt must be removed prior to using the leather cleaner. This is because these particles are abrasive and will scratch and wear the surface down if they are worked into it using the cleaner and brush/ sponge in the next step.
The easiest way to do this is by using a vacuum with a brush attachment. Be gentle and patient with the process, the aim is to gently lift these contaminants away with abrading the leather.
If you are finding it hard to remove loose dirt from the stitching, use a soft brush to help lift it and then vacuum it up afterwards. By the end of this step there should be no loose dirt or dust whatsoever on the leather.
Step 2: Apply and Work the Leather Cleaner In
Apply your leather cleaner to your brush or sponge (not the leather directly) and work it in gently with circular motions taking particular care around the stitching.
Make sure you use enough product to avoid it drying out on the seats, but don’t oversaturate them. Clean a small area and then move onto the next step.
Step 3: Wipe the Leather Cleaner and Lifted Dirt Away
Use a microfiber towel to gently wipe away the product from the seats. You may need a second towel for the final wipe if the towel becomes too saturated.
If the leather looks completely clean and has a matte finish, you can continue to clean the other areas. If the leather still looks shiny then repeat step 2.
Protecting Nappa Leather
There are two products you can use to protect the nappa leather inside your car: a leather protector/ sealant or a leather conditioner.
In the vast majority of cases, a leather sealant/ protector is the best option to go for.
Modern interior leather, including nappa leather is clear coated. This means there is an invisible protective layer on top of the leather. Unless the leather is aged and worn, this clear coat will will be in tact.
Using a conditioner of clear coated leather serves no benefit and in some cases can leave an oily and greasy film which will actually attract dirt.
If your leather still looks fresh and repels water, then you can just use a sealant or protection cream instead. This serves the following benefits:
- Provides a hydrophobic coating so water and spillages are repelled instead of soaked into the leather.
- Protects from UV rays and subsequent fading.
- Keeps the leather soft and supple.
- Prevents friction and consequently, cracks and scuffs.
- Stops staining from spillages and dye transfer from clothing.
My favourite product for this is the Leather Repair Company LRC4 Protection Cream which you can find here on Amazon. You can also purchase it in a pack with the cleaner as well, here’s the Amazon link.
This product is super easy to use and leaves a completely matte, natural finish. If you want to know more about it, check out my video reviewing the Leather Repair Company products below.
Nappa Leather Maintenance Tips
Now that we’ve been through the deep cleaning and protection steps for nappa leather, I wanted to go through some extra tips to help maintain.
- It’s important to wipe up any spillages or grease asap to avoid damaging the leather so it’s a good idea to keep a bottle of leather cleaner and a microfiber towel in your car at all times for emergencies.
- Dust, dirt and sand are abrasive and will cause the leather to become worn quickly. Make sure you remove any debris as soon as possible to avoid it scratching the surface.
- If the leather becomes wet, dry it as soon as possible with a microfiber cloth.
- It is not necessary to deep clean the leather more than 2-3 times per year in most cases. You can simply vacuum the seats and wipe them down with a slightly damp to remove any dust on a weekly basis.
