Polishing a car might seem a bit daunting if you’ve never tried it before, but it’s not actually that hard if you know the proper technique. One of the most important things you need to consider, is the preparation.
If you don’t properly prepare your car’s paintwork before polishing or compounding, you’ll either end up with lacklustre results, or cause scratches and swirl marks. In this article, I’ll take you through each preparation stage so you get the perfect finish. So let’s get started.
The Quick Answer
A car should be prepared before polishing or paint correction by washing thoroughly and removing any old waxes, sealants or coatings. The paint should then be decontaminated chemically, followed by claying, and finally rinsing and drying.
Here’s the step by step process to make sure you get professional-level results.
Wash the Car
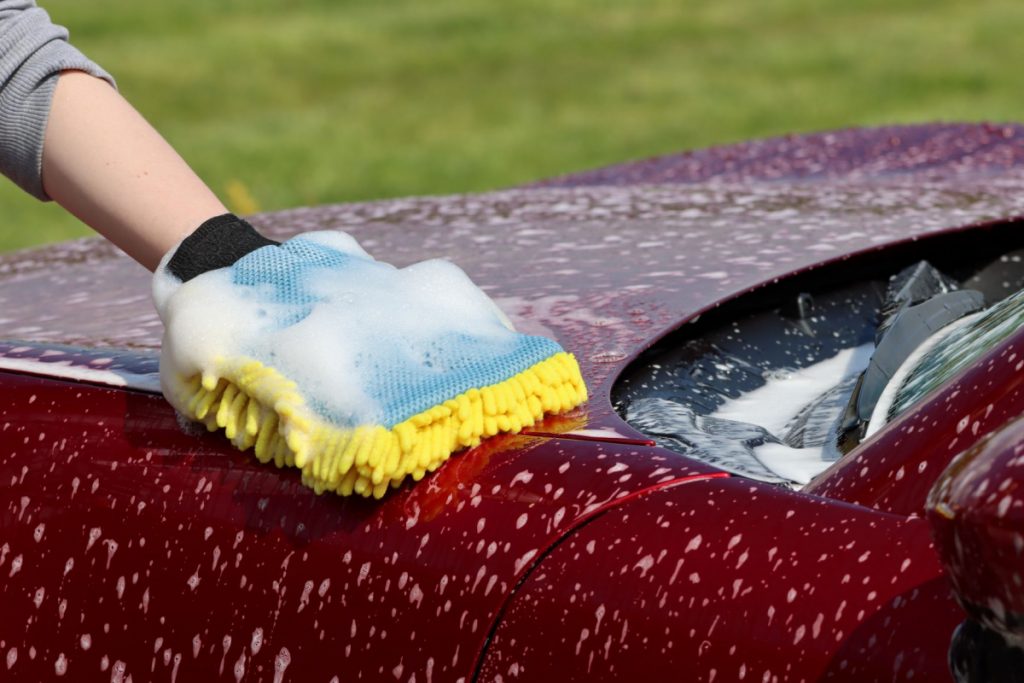
Of course, the first step on the road to perfect paintwork, is to wash the car. If you are reading this article, the chances are that you already know how to wash your car properly without causing scratches and swirl marks. But if you’re looking for some extra tips, then take a look at this article.
Check out this complete guide to washing your car without causing scratches.
There are only really two differences when washing your car before polishing, compared to any other occasion.
- Make sure you are very very thorough. Any dirt or dust left behind can scratch the paint when polishing. So the car should be squeaky clean. Pay close attention to the panel gaps, badges and grille.
- Do not use a shampoo containing any wax or gloss-enhancing agents. Use a basic shampoo with good cleaning power to make sure there is no residue on the vehicle afterwards.
Other than that, the wash process is the exact same. So start by rinsing thoroughly, using a pre-wash or snow foam, rinsing again, and then use a microfiber of lamb’s wool mitt to clean the car. Then give it all a final rinse down. Now, on to the next step.
Strip Old Waxes and Sealants
Waxes and sealants need to be properly removed before polishing the car. If they are still on the paint, then they will clog up the polishing pad. This requires you to use more polish or compound and more passes. Hence, the process can take over twice as long.
Sometimes, if you have a particularly tough sealant or coating, the polish will never even touch the paintwork. So you need to make sure it has been removed beforehand.
There are several ways to strip the layer of paint protection.
One way is to use an all-purpose-cleaner (Bilt Hamber Surfex HD at roughly 25% in the cannon) in combination with a snow foam. I coat the car in this mixture, let it dwell for a couple of minutes and then go over the car with a clean wash mitt. Then I’ll just rinse the suds away.
I find that this is a quickest and effective method that works for old or less durable protection products. You can check out my explanation and demonstration in this video on the Auto Care HQ YouTube channel.
There are plenty of other methods though that you can try to remove the wax or sealant on your vehicle.
Check out this article on 5 different methods to remove old waxes and sealants.
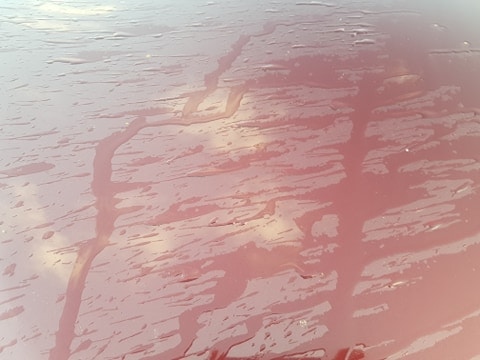
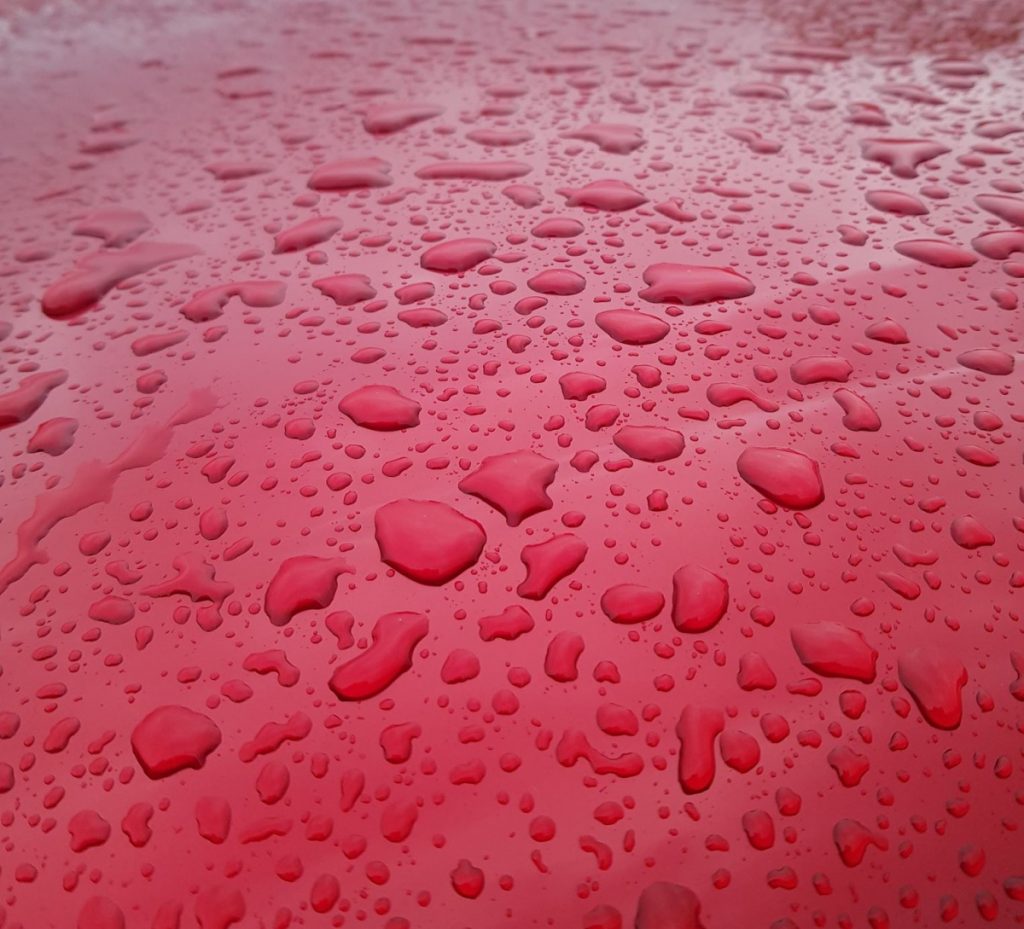
You’ll be able to check if the wax or sealant has been properly removed by observing the water behaviour. If water still sheets off the car quickly, or forms beads, then you’ll need to try again.
Chemical Decontamination
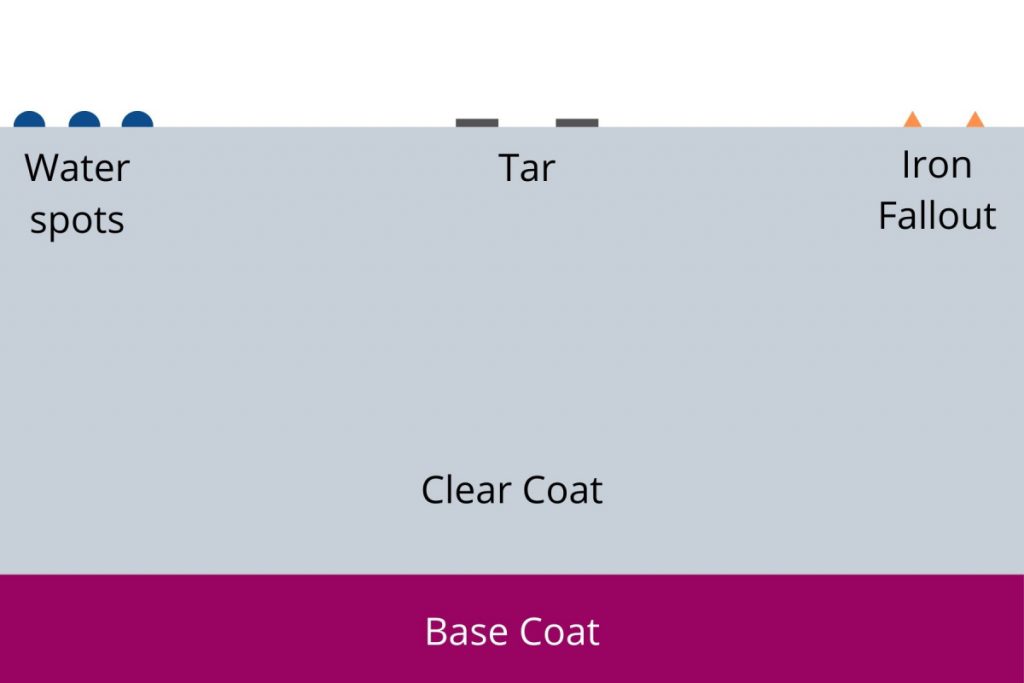
The next thing you need to do, is decontaminate the car. Over time, “contaminants” can build up on the paintwork, including water spots, tar, iron fallout, tree sap and paint over-spray. They cannot usually be removed by routine washing.
Things like tar and tree sap are easy to spot, but others are less noticeable. You’ll know if your car has contamination, by running your hand over the paintwork when it’s just been washed and dried. If it feels rough, there are invisible contaminants on the surface.
There are two methods of decontamination: chemical and physical. Chemical decontamination should be performed first in order to reduce the risk of scratches and marring in the physical decontamination stage.
Chemical decontamination involves two process:
- Tar removal
- Iron fallout removal
You can use separate sprayable products for each function. They are usually applied to a dry car (after washing), left to dwell for a few minutes and then rinsed away.
Check out these articles to learn more:
Physical Decontamination
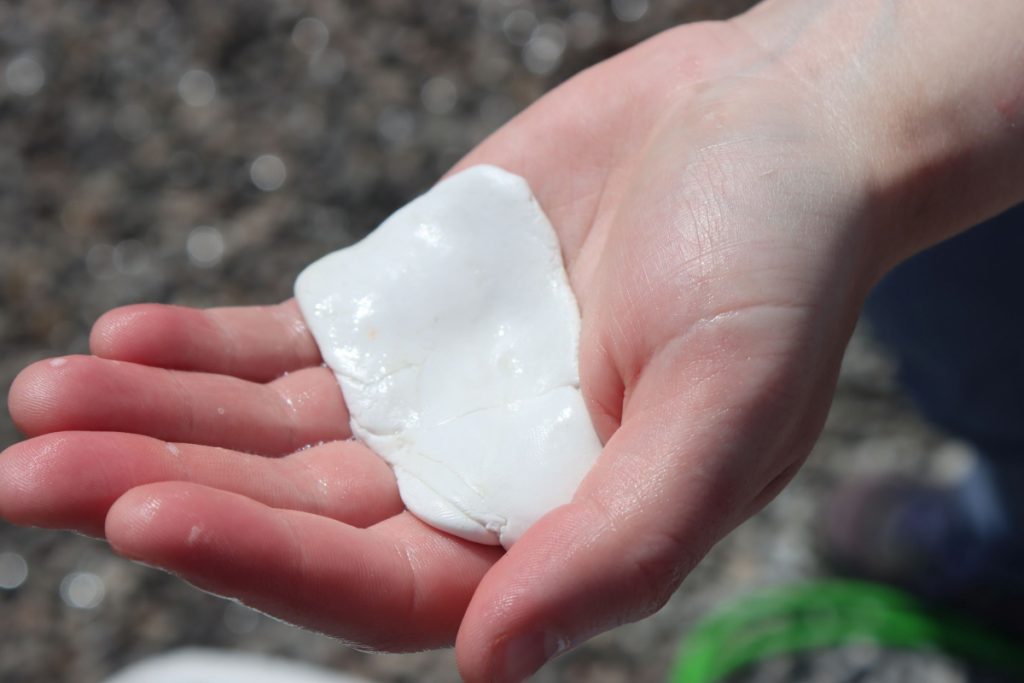
Physical decontamination uses clay. This is usually synthetic and can come in the form of a clay bar, mitt or cloth. Personally, I prefer clay bars as they are more effective and cheaper in my opinion.
Clay is used to pull all the contaminants off the paintwork, or shave them down until they’ve been completely removed. Here’s how to do it.
- Lubricate the paintwork with a wax-free car shampoo
- Knead the clay until it’s slightly warm and flat
- Dip the clay in the shampoo and water
- Glide the clay across the paintwork in straight-lines until you feel the paintwork become completely smooth
- Rinse away any residue
It’s a really simple process and should only take around 30 minutes on a smaller, newer car. Older and larger cars may take around an hour depending on how bad the decontamination is.
Despite being fairly straightforward, there are definitely things you need to keep in mind. Clay is an abrasive substance, so has a high level of potential to cause scratches, swirl marks and marring.
This risk can be reduced by ensuring the paint and clay is very well lubricated. It should never grab at the paintwork.
Also, keep folding the clay to make sure you’re using a clean area, and never drop it on the floor. If you do, throw it away and grab a new piece.
Make sure you check out my complete guide to claying to learn some essential tips to make the process safer and more effective.
Rinse and Dry
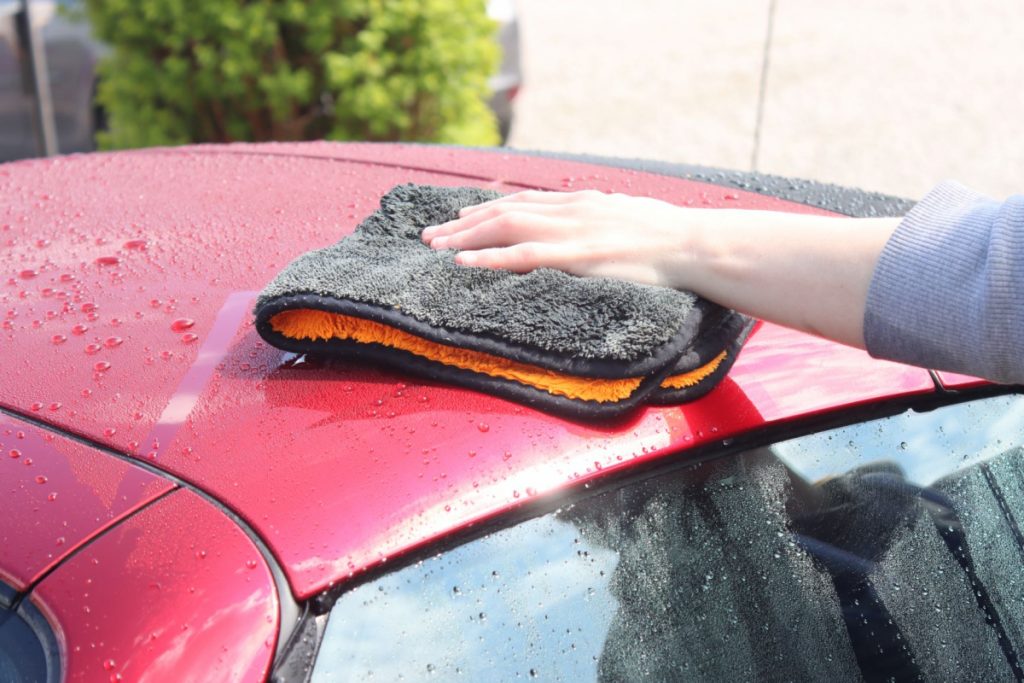
Now the paintwork should be contaminant-free and stripped of any old waxes and sealants. All you need to do is make sure the paint is residue-free and dry.
It can sometimes be worth going over the car again with a clean wash mitt and wax-free shampoo to make sure the paintwork is squeaky clean. But in most cases, a good rinse down will be sufficient.
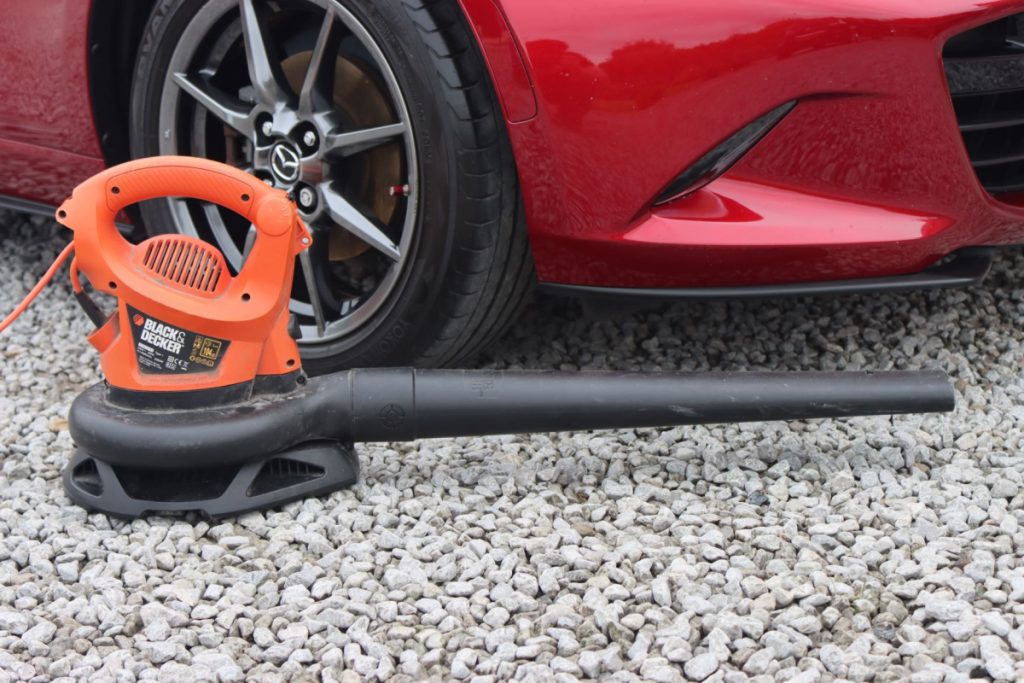
Then you should dry the car carefully. I find that the best method, is to use a leaf blower (or car-dryer if you have one), to blow water out of any panel gaps, seals or crevices on the exterior.
This is important because you don’t want water drips when you’re polishing. Then you can just dry the car using a slightly damp microfiber towel.
Tape the Trim
Now the car is clean and dry, you’re almost ready to start polishing. But there are still a couple of essential stages if you want to get the best results posible.
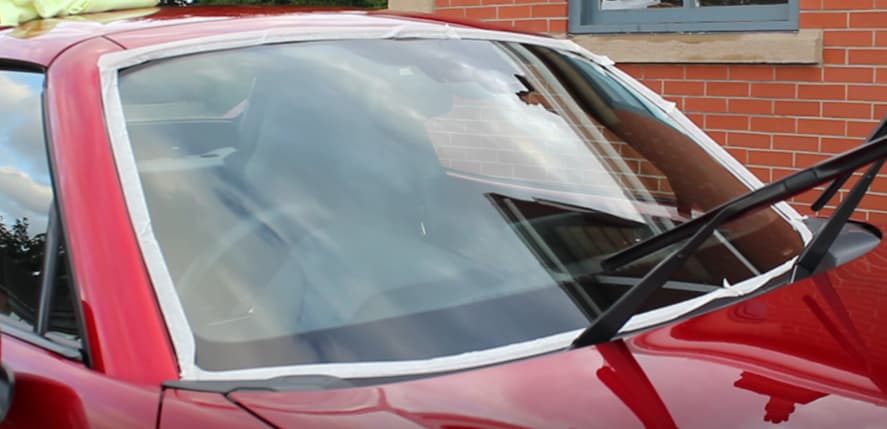
Taping the trim on your car’s exterior is very important. If you’re using a machine polisher, whether it’s a dual-action or rotary, you need to tape the trim for a couple of reasons.
- The machine polisher will damage the trim (especially if it’s rubber or plastic).
- Tiny bits of trim residue will get in the pad and can scratch the paintwork.
So don’t skip this step out!
I recommend using a low-tack tape and making sure all the trim, and plastic such as the headlights is properly shielded from the polisher. Don’t worry about damaging the trim, if you use something low-tack, then there won’t even be any residue left behind afterwards. Just make sure you don’t keep it on for any longer than a few hours.
Also, when you’re actually polishing, be careful around these areas. Consider using a smaller polishing pad in situations where it’s difficult to avoid touching the trim.
Inspection
If you want professional-level results, then you’ll need to properly inspect the paintwork before proceeding. So before you pick up the polisher, make sure you know exactly what you’re dealing with.
Polishing and compounding removes a layer of paint. In order to remove scratches, you’ll need to level the paint using these techniques. But you have to be careful not to be too aggressive, because there’s only so much paint to begin with!
Take a look at this article on the risks of polishing before you continue to make sure you know how to minimise them and don’t cause more damage.
There’s a fine line. Remove too much paint and it’s unnecessary and will reduce the amount of protection the clear coat on your car is able to provide. Remove too little, and you won’t effectively remove the scratches or swirl marks.
Measure the Amount of Paint on the Car
Of course, you can never actually see the depth of paint remaining on your car. But there is a machine that can help you out called a paint-depth gauge. You can pick them up online pretty cheaply and they’re quite easy to use.
- Use the paint depth gauge on the door jamb paint to see how thick it is. This will be used as the reference because it usually hasn’t been polished.
- Use the gauge on a panel to get a reading.
- Subtract the panel reading from the door jamb reading.
- This tells you how much paint has already been removed.
This method isn’t completely accurate, and there are still some risks, but it definitely gives you more of an indication of how much paint you’re dealing with rather than just polishing away blindly.
Assess the Damage
If you’ve decided that’s it’s safe to continue with the paint correction, then next thing you need to do is assess the level of damage that you want to remove. By this, I mean the amount and severity of the scratches and swirl marks. This is best done under a bright torch inside a garage, or when it’s dark outside.
There are tonnes of variables when it comes to polishing such as:
- The polish
- The type of machine polisher (or if you’re hand polishing)
- The pad type (microfiber or foam)
- The machine speed
- The amount of polish
- The number of passes
- How soft the car’s paint is
The main thing you need to do when polishing, is preserve the paint. So using a less-aggressive tactic is always preferred.
Using a very fine finishing polish is the best place to start, and a foam pad because it’s less aggressive than microfiber. If after polishing, this doesn’t remove the damage. Consider trying another pass, or switching to a microfiber pad or heavier cut polish or compound.
You won’t need to go through this trial-and-error process over the entire car. Just choose a section to start with and then repeat this over the vehicle.
It may seem a bit tedious, but taking your time inspecting and assessing the paintwork will a) help you get better results and b) preserve the paintwork and prevent over-polishing.
You’re Ready to Go!
Okay, so you’re finally ready! Remember to take your time, keep cleaning your pad (using compressed air or a microfiber towel) and change it if it gets too clogged. Soon you’ll be able to sit back and admire your car’s mirror finish.
Considering machine polishing your car? Take a look at my complete machine polishing checklist to make sure you have all the right equipment for the job.
Frequently Asked Questions
I thought it’d be a good idea to round off this article with a few related questions about prepping your car for paint correction. So here are the answers to some of the most FAQs.
How do you prepare a polishing pad?
A polishing pad should be prepared, or “primed”, before using it on the paintwork by rubbing the compound or polishing liquid into the pad to ensure it’s evenly coated. Then 3-5 pea-sized dots should be added to the pad before polishing the paint.
How often can you machine polish a car?
You should only ever polish a car when necessary, and never part of a routine, in order to preserve the amount of paint remaining on the vehicle. Take a look at this in-depth guide to how often you can polish a car to find out more about this topic.
Thanks for reading! I hope you’ve found this article useful. Don’t forget to check out the rest of the website to learn everything you need to know about car detailing.
